
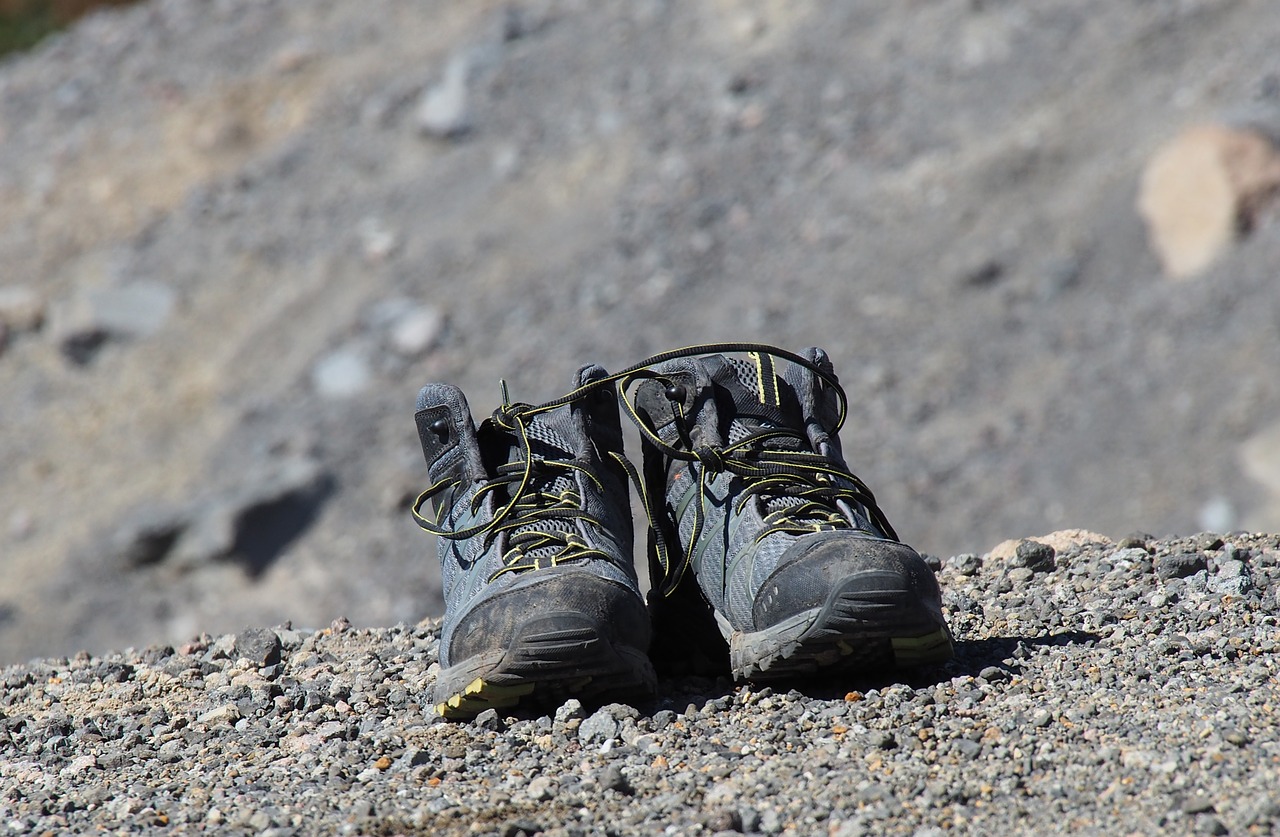
If you love your way outdoors or are planning the next hike, it would be advisable to invest in good quality hiking boots. While the hiking experience can be a lot of fun, a simple mistake (when on the wrong gear) can ruin the entire experience. You need boots that will not only protect you from sharp objects, rocks, snakes, etc. but is also comfortable and light enough.
 Finding the best hiking shoes isn’t always an easy task. Several important factors need to be considered to ensure you are not only protected but also don’t go beyond. Discussed below are some of the key features and elements to consider when shopping for hiking boots.
- Know your style
Just like sneakers, hiking boots come in various types, all designed for specific uses and purpose. For instance, some of the boots on the market are meant for trekking deep in the woods and mountains, and others for simple hiking experiences. If you spend more time hiking, you will then need the highest quality boots. The casual hiker can, however, go for something of a lower quality. Some of the standard preferred styles include:
- Light hiking shoes: This is the muscular version of running shoes. This variant comes in handy for day hiking and long-distance trekking. Anyone looking for an ultra-light fit will find comfort in these. These Primus shoes are a good example.
- Mountaineering boots: Mountaineering boots are designed to take on the toughest of terrains; this includes glacial trails, rocky territories, and snowy paths. These CAT Work boots are a good example of the shape and style.
- Backpacking boots: Characterized by a stiff, durable sole, backpacking boots are designed for a wide variety of terrain. Whether going for a multi-day trek, mountaineering or just need comfortable enough boots for tough terrains; these boots will give you the comfort and satisfaction required. These Underarmour boots are a good example of the style.
- Material
In addition to an excellent sole, the material/fabric used needs to be of the best quality for a hiking boot. The wrong material can make the shoes uncomfortable, or feel cramped up. Some of the recommended materials include:
- Synthetics: Polyester and nylon are the most commonly used synthetic materials for hiking boots. The only advantage of these is the fact that they feel light, are easy to break in and dry faster. They aren’t, however, water-resistant.
- Split-grain leather: This is made of a mixture of synthetics and leather, hence considerably much better than polyester varieties. It, however, isn’t as durable or water-resistant as full-grain leather.
- Full-grain leather: This is the best material for hiking boots. It’s not only durable but also takes on the severe beating while hiking exceptionally well. The good features, however, come at a cost; full-grain leather can be cumbersome and less breathable.
- Choose the right cut
Hiking boots come in 3 different cuts: low-cut, mid-cut, and high-cut. To make the right cut, you first need to determine the type of terrain you will be taking on. Choosing the wrong cut can translate to rocks in shoes or a rolled ankle at the end of it all.
- Low-cut: Low-cut hiking boots are mainly designed for well-maintained and smooth trails. The low-cut however leave your ankles exposed, though is lightweight. They can be easily mistaken for running shoes.
- Mid-cut: As the name suggests, this style offers a better buffer from debris and soil. They are even more comfortable, provide additional ankle support and balance.
- High-cut: This is the best cut for the adventurous hiker. High-cuts offer optimal ankle support and balance leaving you protected from sharp rocks, sticks, and stumps. They are specially designed for potentially dangerous terrains.
- Size
Be sure to try the boots first before paying for the order. A size test is always recommended for you don’t want anything too tight or too loose. Hiking boots have plenty of room in the toe box and should fit perfectly. Avoid a floating heel at all costs, as this is the number one cause of blisters.
To be on the safe side, have some trail socks with you when trying the boots. Ask the attendants for insoles, socks, and lacing techniques. All these should help you determine the right size for your feet.
- Try them out
Do not wait until the D-day to try the boots. Try them out while in the house, walk around the house and neighbourhood to make sure they fit perfectly. Put them on while running little errands around the block or the supermarket. Having them on for several hours should help you determine if they are the right choice for the hiking trip ahead. Should they feel too tight or loose, return them to the store to get the right ones. Have someone experienced in these help you out this time.